The Premier Paving Stone Mould Company
Buy direct & online and save on your next DIY concrete paver mould purchase.
The Concrete Mould Shop is a family business which have been operating for over 15 years.
Customers choose to buy again & again because of the prompt & professional service, quality of products & price.
If You Are Looking For An Easy Do It Yourself Concrete Paver Mould Solution….
You have come to the right website.
Just measure the area you need to protect and order the lengths required.
If you want a long lasting and unobtrusive bird spikes – you will find what you need from the team at The Concrete Mould Shop
Make an enquiry today … or simply order online!

Guide To Making Concrete Stepping Stones For Your Garden
There is no better way to personalize your garden or a walkway in your yard than homemade stepping stones.
On top of making your own property more pleasing aesthetically, homemade stepping stones can also make wonderful gifts for family and friends to accentuate their own properties.
Adding extra touches into your stones like a child’s hand or footprint can really make them extra special.
Making stepping stones yourself is not only creative and fun, it will also save you money, and you can buy molds of whatever shaped and size you wish.
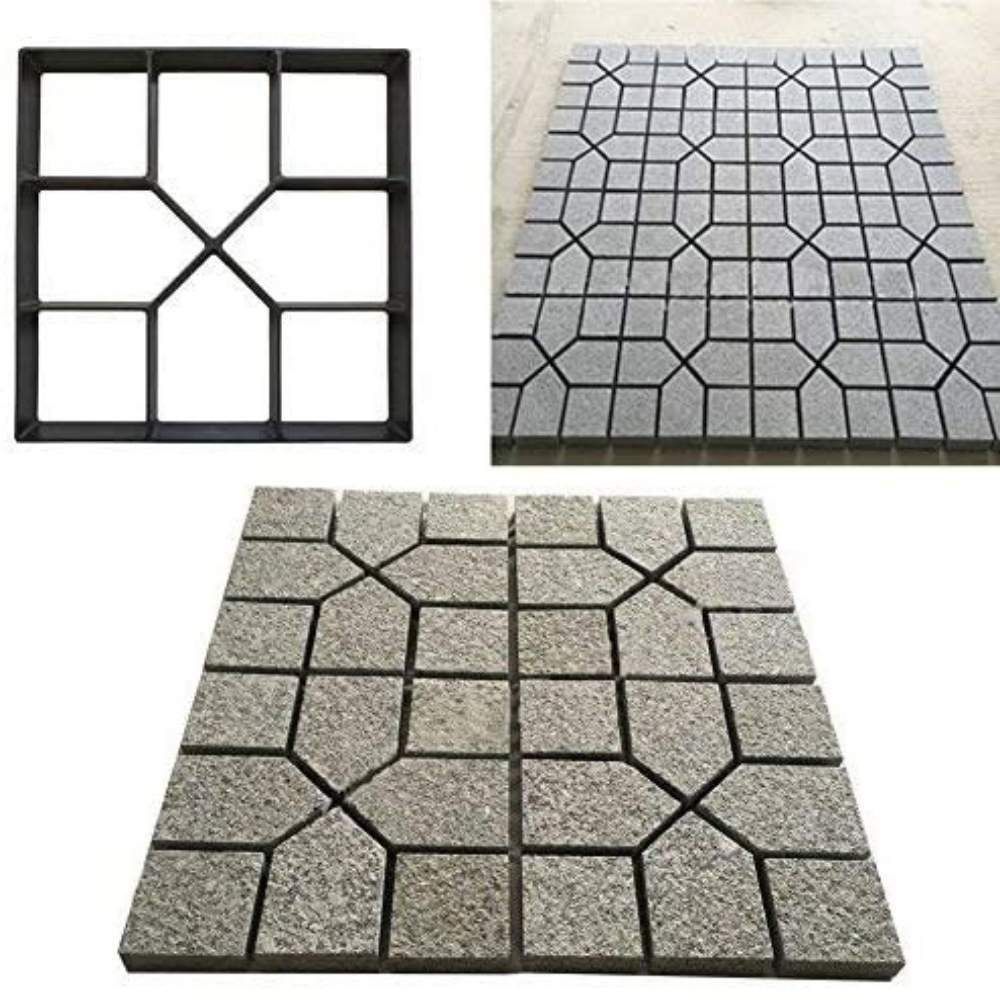
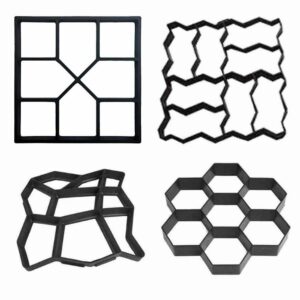
While some people buy a whole ready-made stepping stone kit, we recommend buying just the moulds.
Individual moulds have a fairly wide range of prices, but no matter which end of the spectrum you opt for you will more than likely spend less than you would on the all-in-one kit. Also keep in mind that the heavy-duty plastic used in these molds makes them highly reusable.
The following steps will outline the process of making your own concrete steps using these moulds:
Step 1: Choose the size and shape of the blocks you want for your garden or yard path
Step 2: Start by coating the inside of your mould with cooking spray (this will make it easier to remove the stone from the mould once the concrete dries).
Step 3: Cut out a piece of window screen that is the same size and shape as the inside of your mould (you can buy screen like this by the foot at any hardware store or home improvement centre, and it is not difficult to cut with scissors or an x-acto knife).
Step 4: Use a 5-gallon plastic bucket to mix your concrete. You can buy special stepping-stone cement if you want to, but regular cement works just fine as well. Mix in the amount of sand you expect to need, add water, and stir until you get a consistency something like thick pancake batter.
Step 5: Fill in your mould with about 1 inch of the concrete. To remove air bubbles, tap the sides of the mould or pick it up and drop it from a small height (maybe 3 inches) 5 or 6 times. Now place the piece of window screen you cut out on top of the concrete before adding one more inch of concrete on top (the screen helps to prevent the dried stone from cracking).
Step 6: Do more tapping or dropping as described above to remove any air bubbles.
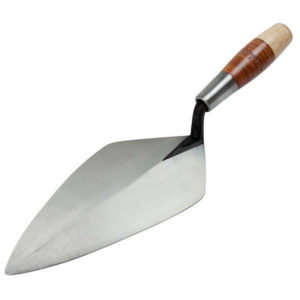
Step 7: Use a trowel to smooth out the top of the concrete (this helps to bring excess water to the surface of the concrete; you don’t have to worry about removing the excess water, just leave it).
Step 8: Find a shady spot to let your stone dry for about 15 minutes. This is also the time to add hand prints of seas shells if you want to give your steps a personal touch.
Step 9: Leave the stone to dry overnight and then remove it from the mould. It should come out quite easily if you used the cooking spray. Make sure to be gentle with your paver at this point because it will not be fully cured yet.
Step 10: Use a garden hose to spray your paver and then put the wet paver into a plastic bag and seal it. Leave the sealed bag in a shady area for 21 days to allow the stone to fully cure, after which point it will be ready to be placed in your garden.


